Once you have created the logistics for a cycle using the Program Cycles editor, you will need to add pages to your cycle that will be grouped into forms. The cycle must include an Application form and it may also include optional Intent to Apply, Interim Report, and/or Final Report forms. You may also create an additional associated cycle to create a flexible form, such as a reimbursement form, an invoice, etc. Alternatively, you can offer additional form opportunities by extending your cycle for multi-year cycles.
Table of Contents
CREATE YOUR INTENT TO APPLY PAGE (OPTIONAL)
-
-
- Navigate to the Grant Editor tab > Program Cycles subtab
- Click on Applicant Access & Dates
- Select Yes for Offer Intent to Apply
- Set an appropriate deadline or copy the application deadline if you want the Intent to Apply to be available throughout the application process.
- Click Save Changes to save.
- Navigate to the Grant Editor tab > Cycle Pages subtab.
- Select your program and cycle from the drop-down menu.
- Scroll toward the bottom of the window and select Intent to Apply from the Add New Page drop-down.
- Type a title for this page, this title will appear to your applicants in the Table of Contents for this form.
- Click Add to add this page to your cycle. It will appear in the page table above in purple.
- Click the Edit button to the right of this page as listed in the page table.
- Add Info/Instructional language.
- Learn more about formatting this language with the Text Editor tools.
- Set the appropriate rules for the page and add question fields.
- Administrators can create the Intent to Apply page as an individual read-only form, making it visible only to admin; or make it part of the Application read-only form where it will be visible to panelists and admins.
- Administrators can manually approve the intent to apply before applicants have access to the application; or they can opt to allow applicants to continue with the application without approval.
- Administrators can populate the Intent to Apply page into the application making it the first page in the application; or they can make the page appear separately as its own form.
- Use the Preview Page button atop the page editor to see the Intent to Apply as it will appear to your applicants in their read-write form.
- NOTE: You can only add one Intent to Apply page per cycle.
-
Learn more about the Intent to Apply page here.
CREATE THE PAGES OF YOUR APPLICATION (MANDATORY)
-
- Navigate to the Grant Editor tab > Cycle Pages subtab.
- Select your program and cycle from the drop-down menus at the top of the window.
- Scroll to the Add New Page tool.
- Select your page type from the Add New Page drop-down menu. It will be added as an application page by default if you do not check the Interim checkbox or the Final Report page checkbox.
- Type in a title for this page; this title will appear to your applicants in the Table of Contents for this form.
- Click Add to add this page to your cycle Application and it will appear in the page table shown above in Peach.
- Click the Edit button to the right of this page as listed in the page table.
- Depending on your page type(s), add content or settings. Learn more about pages here.
- Use the Preview Page button atop each page editor to see the contents as it will appear to your applicants in their read-write form or view and test the application while you are creating it.
PAGE NOTES:
- If you are using the Media Library and Media Library Selection page to request support materials, please review this guide.
- If you report to the NEA, use this guide while you create your applications and final reports
CREATE INTERIM AND FINAL REPORT PAGES (OPTIONAL)
- Navigate to the Grant Editor tab > Program Cycles subtab.
- Click on Applicant Access & Dates.
- Select Yes for Offer Interim Report and/or Offer Final Report.
- Set an appropriate Open and Deadline date.
- Click Save Changes to save.
- Navigate to the Grant Editor tab > Cycle Pages subtab.
- Select your program and cycle from the drop-down menus at the top of the window.
- Scroll to the Add New Page tool.
- Select the appropriate checkbox for Interim or Final Report, located to the right of Add New Page.
- Select your page(s) as you did for the application.
- If you are using templates or tables that were used in the application form, you will have the opportunity to clone the applicant’s data into the report by checking the Pre-populate box and/or using the Link To drop-down menu.
- You will see the Interim form appears in yellow; the Final Report form appears in green.
- Edit the pages as you did on the application.
- If you want to add a column to an Interim/Final report table that was created in the application, you will need to edit the table in the application form.
- If you have both an Interim and Final Report, the Interim Report is available to applicants in Funded and Final Report forms will be available to applicants in Interim Report Approved. If your cycle does not have an Interim Report, the Final Report is available to applicants in the Funded status.
- NOTE: If you do not see Interim Report fields, this setting may be No for your site. Speak to a member of the GO Smart team if you would like to offer Interim Reports but don’t see the option.
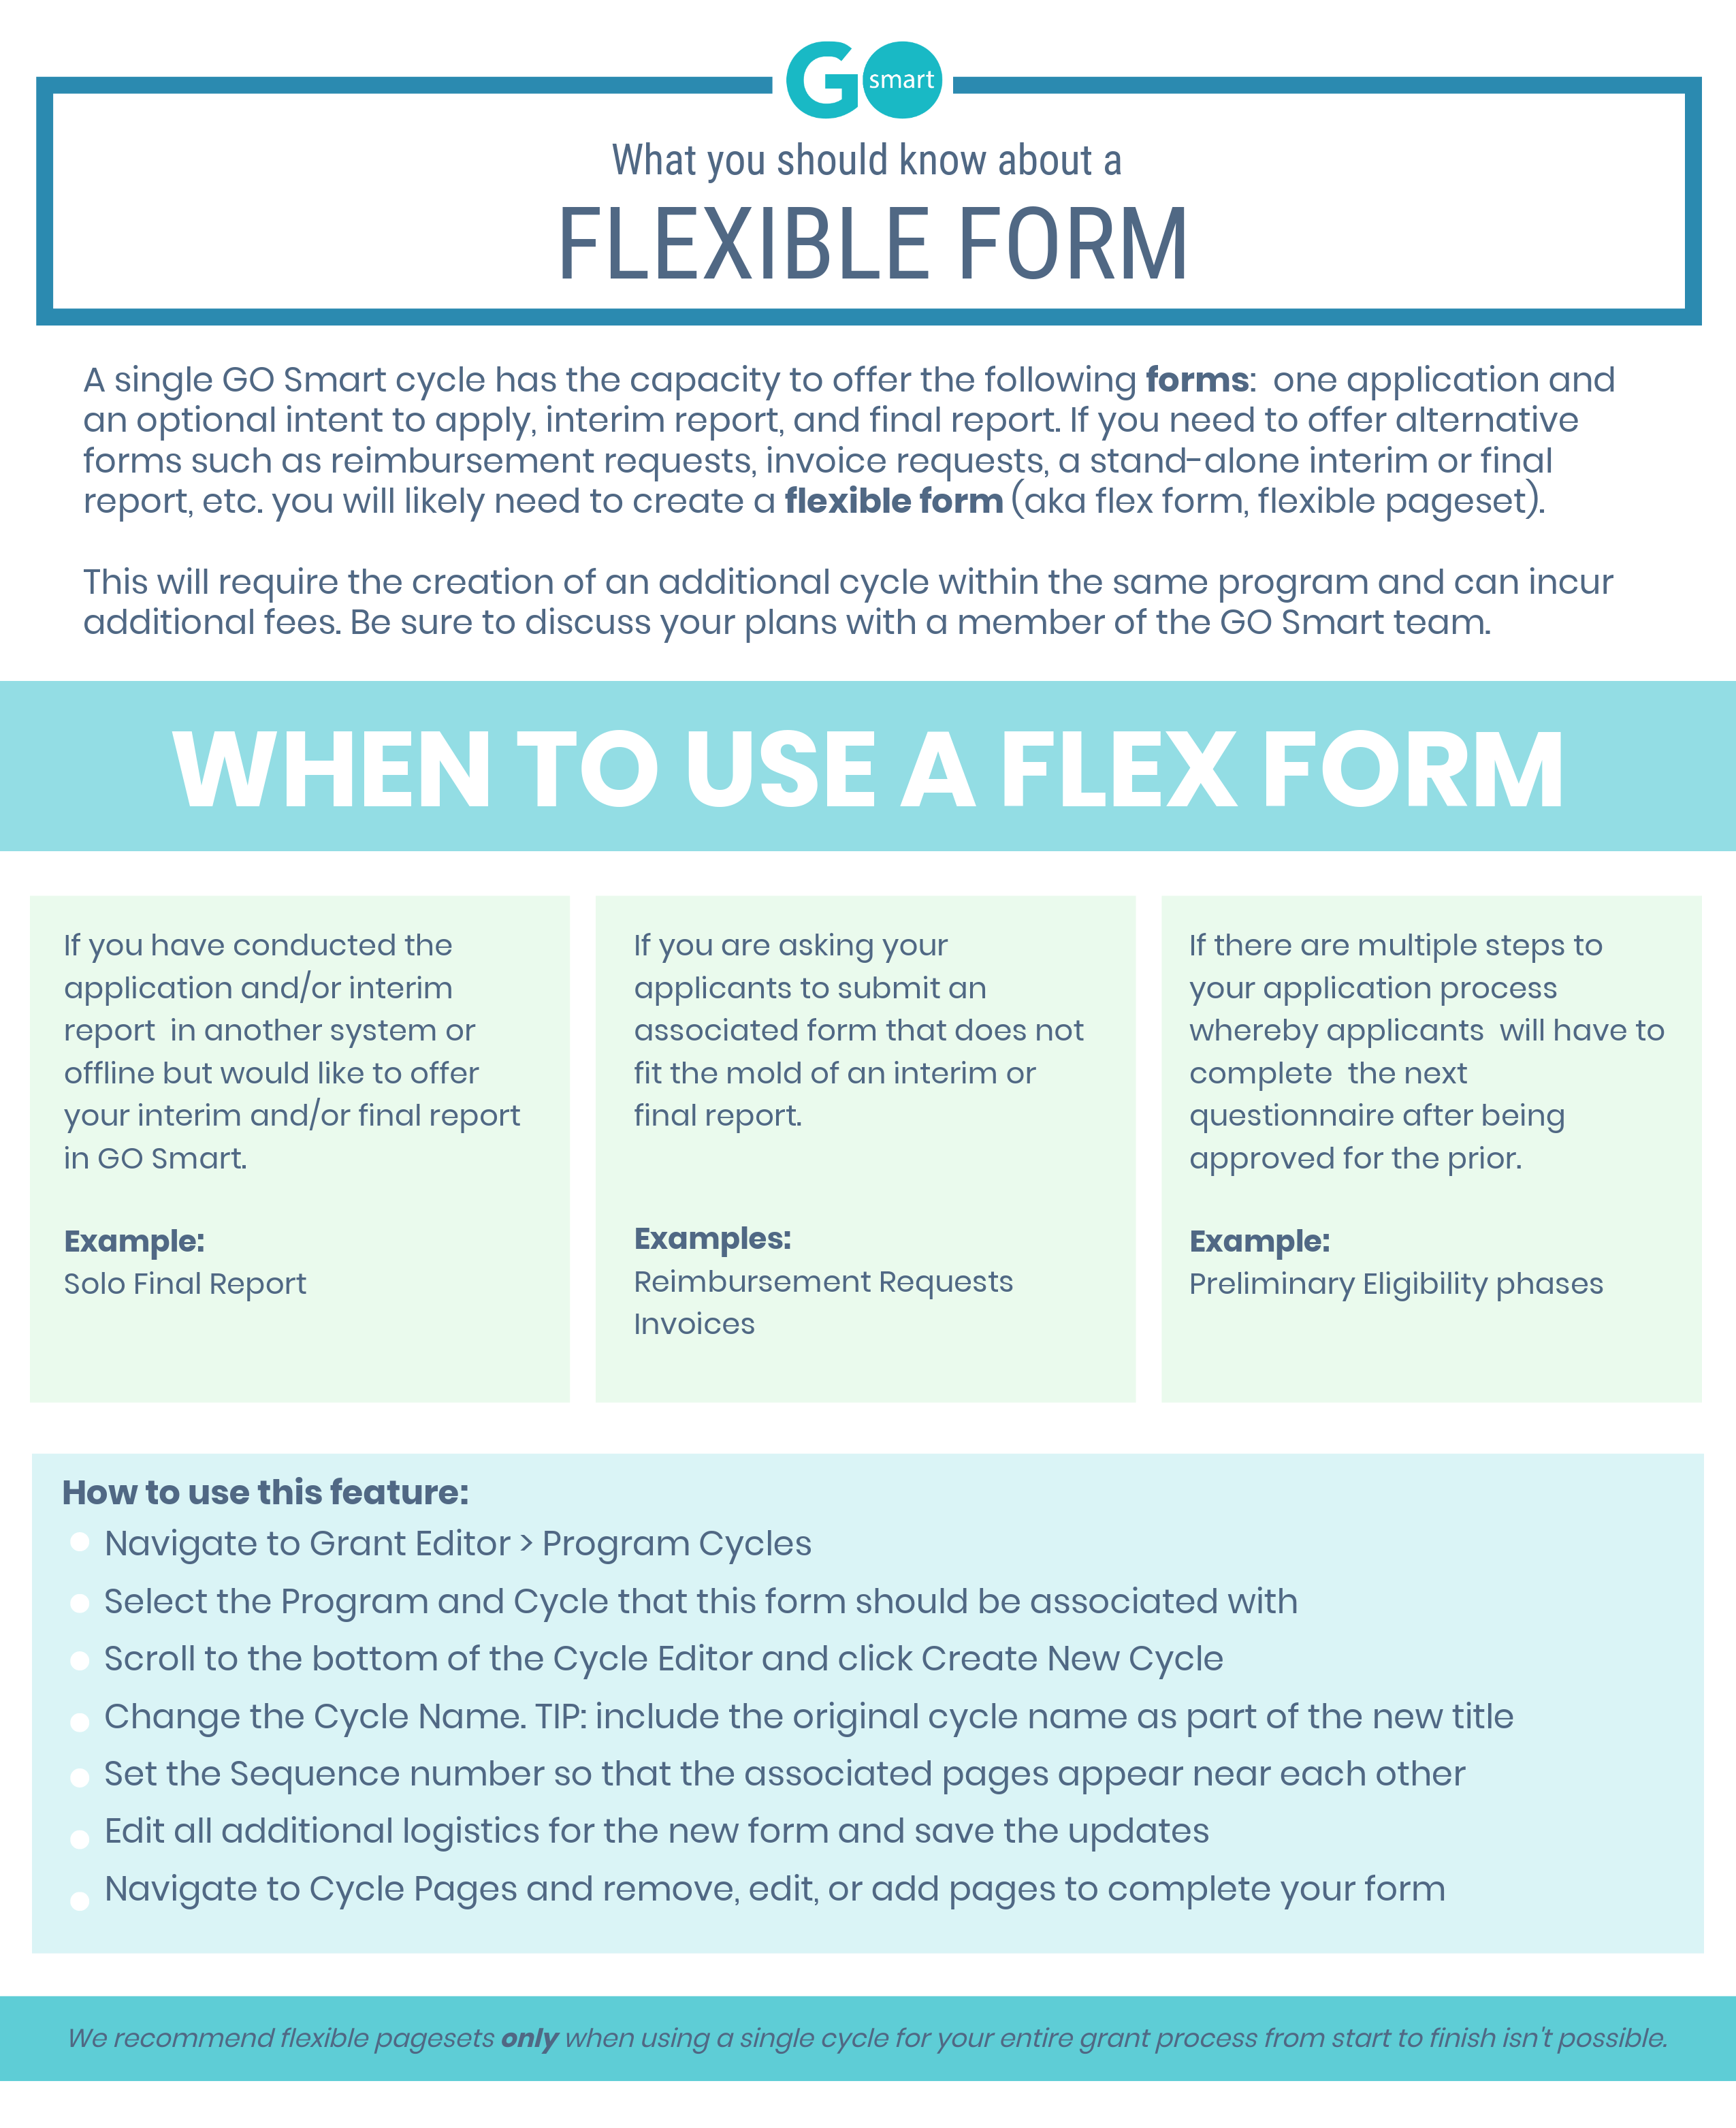
CREATE A FLEXIBLE FORM (OPTIONAL)
You may find that you need to create an additional form that does not follow the standard GO Smart cycle workflow of Intent to Apply -> Application -> Interim Report -> Final Report. For instance, you may need to create a reimbursement or invoice form–or maybe you offer more than one interim check-in. In these instances, you need to create an additional cycle to give your applicants these other types of data opportunities.
Follow the steps of the “Create all subsequent cycles in an existing program.” Give your new cycle (which will become your flexible form) a title that aligns it with the existing cycle. For example, if your cycle is “General Operating Support 2023,” call the flexible form something like “General Operating Support 2023 Quarterly Report (Jan-Mar)” so that your applicants can easily locate this opportunity.
After you create your new flexible form, it will appear to your applicants as an additional opportunity in their Grant Applications & Forms tab (shown below).
DELETING A PAGE
Click the trash icon to the right of the page that you would like to permanently delete. If the trash icon is not an option, you will need to first click the pencil icon and remove the fields of that page, then you will be able to delete the page.
One Response